I have seen so many deployments of RDS (Remote Desktop Services) done incorrectly in Windows Server 2012/2012R2 that I wanted to get the correct process out there. Unlike previous versions of Windows, RDS in 2012 must be deployed with the RDS installation wizard. There is one exception to this rule. When there is only one server and it is in a workgroup, the deployment works differently. I will cover that deployment in another guide.
This guide is applicable for a Windows 2012/2012R2 server that is joined to a domain or is a domain controller. Following the below steps will take you through the setup of the first RDS server.
- Join the server to the domain. If the server is also to be the domain controller*, install the ADDS (Active Directory Domain Services) role and promote the server.
- Launch the Add Roles and Features Wizard in Server Manager.
- Launch Server Manager
- At the top right, click Manage
- Choose Add Roles and Features
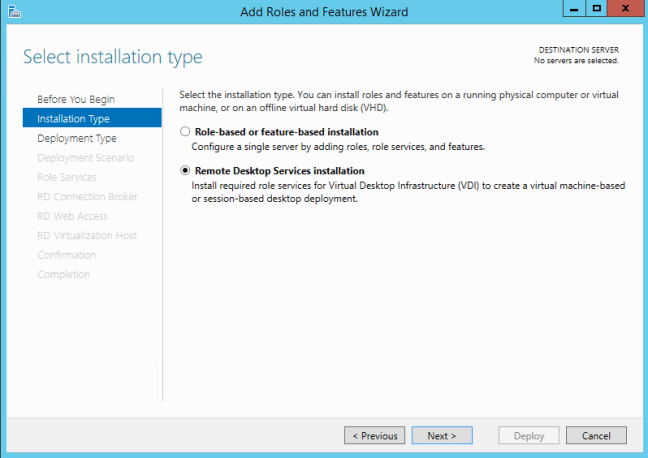
- On the Installation Type screen, choose Remote Desktop Services installation and click Next.
- On the Deployment Type screen, choose Quick Start and click Next.

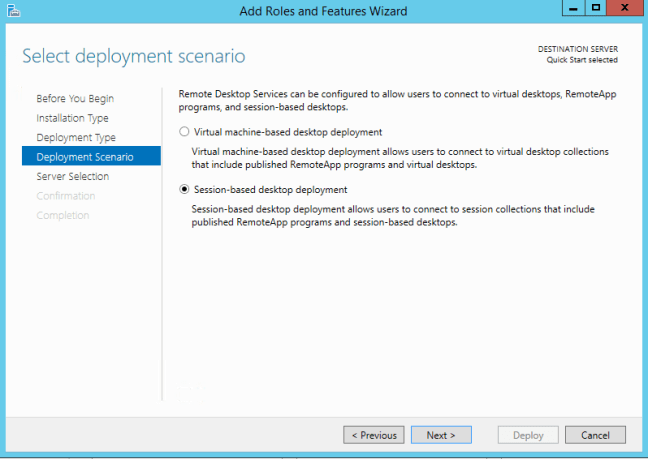
- On the Deployment Scenario screen, choose Session-based desktop deployment and click Next
- On the Server Selection screen, verify the server is selected and click Next.

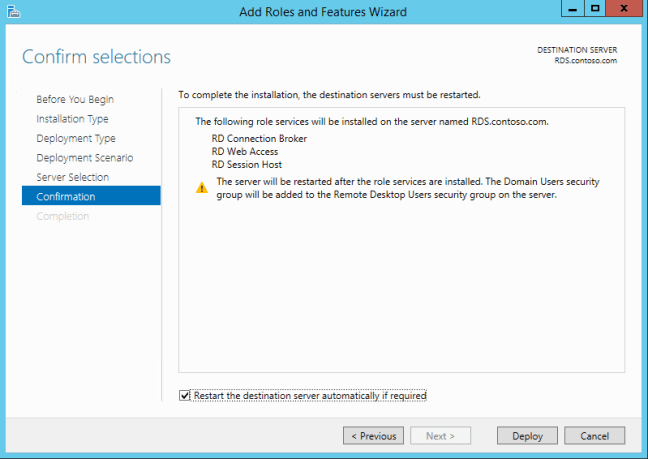
- On the Confirmation screen, check the box to Restart the destination server automatically if required and click Deploy. The server will automatically reboot.
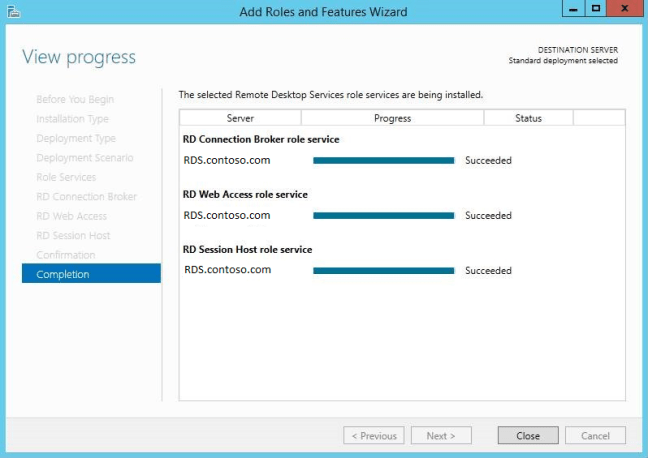
- Log into the server after the reboot. The wizard will automatically launch and the deployment should complete. Close the wizard when complete.
- Go back to Server Manager. On the left side click on Remote Desktop Services. You should see a screen similar to the following.
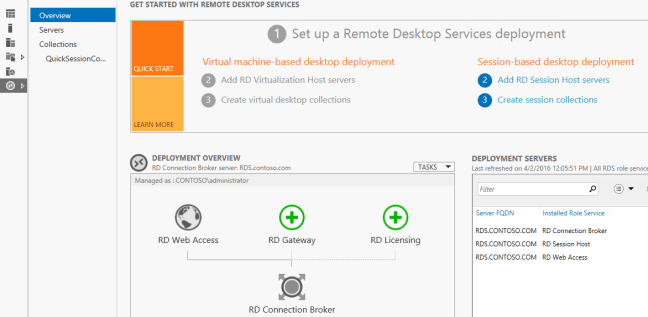
- Click the + symbol above RD Licensing. This will launch the wizard to add a licensing server.
- Add the server to the Selected list and click Next.
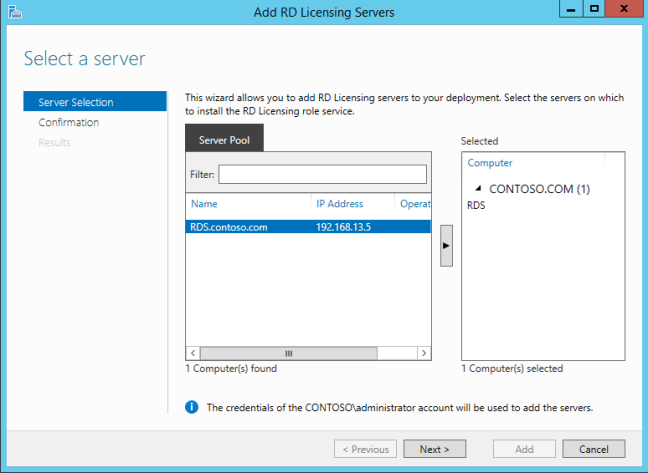
- Click Add. When the process completes, click Close
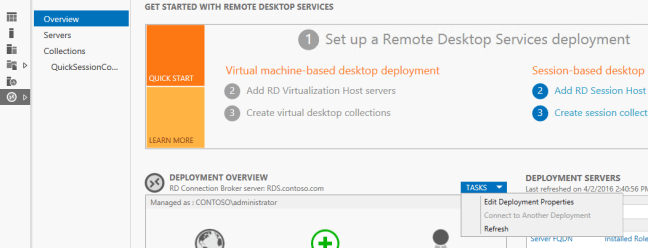
- Click the TASKS button next to DEPLOYMENT OVERVIEW and choose the option to Edit Deployment Properties.
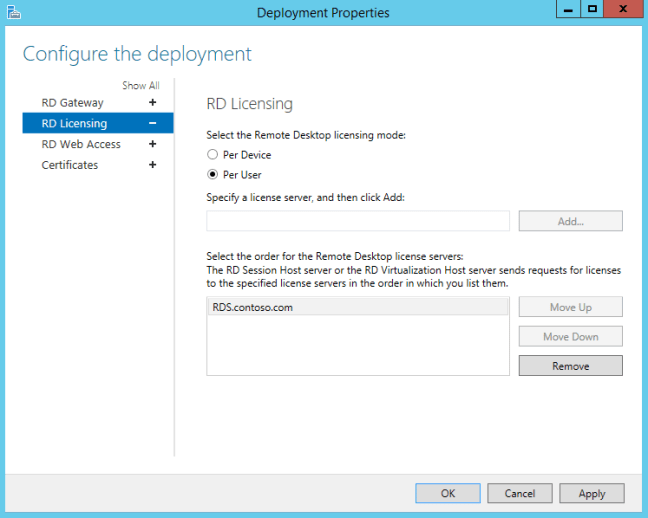
- Click the RD Licensing option on the left side. Choose the licensing mode that matches the RDS CALs purchased. The licensing server should already be populated. If it is not type in the FQDN (Fully Qualified Domain Name) and click Add. Click OK.
You now have a very basic setup of Remote Desktop Services. The next step is to activate your license server and install your RDS CALs. I will write an article on that process in the near future and update this article once it is published.
*Microsoft discourages making an RDS server a domain controller. If it is required, see this technet article.

One thought on “How to properly deploy Remote Desktop Services on a single domain joined server”