In my previous article I discussed an issue I see commonly with VPN in Essentials. In that article I gave the fix for all versions of Essentials except 2016. In this article I will cover the fix for 2016 Essentials.
As stated previously, 2016 Essentials uses PowerShell to configure the VPN. Here is what the default configuration looks like:

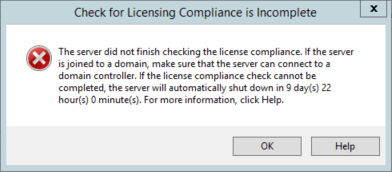
If you try to manage it in the RRAS (Routing and Remote Access Server) console, you will see this:

The message would imply that you could turn on legacy mode. This is true, but to turn on legacy mode requires clearing the configuration from RRAS. Clearing the configuration must be done with PowerShell. Re-deploying the VPN can be done with both PowerShell and the RRAS console. Below are the PowerShell commands.
- Launch a PowerShell session as administrator.
- Run Uninstall-RemoteAccess. Hit enter when prompted
- Run Install-RemoteAccess -VpnType Vpn -IPAddressRange 192.168.16.100,192.168.16.120
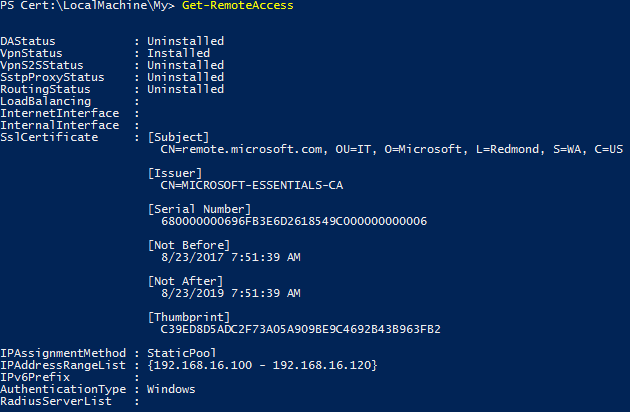
Change the ip addresses to match the range you want to use. In the command above the start IP address is 192.168.16.100 and the end IP is 192.168.16.120. - It may be necessary to modify the SSL certificate. To check this run Get-RemoteAccess. If the SSL certificate matches the one installed by the Essentials anywhere wizard, then you are done. If not, please proceed to the next step.
- Run Set-Location Cert:\LocalMachine\My; Get-ChildItem | Subject,Thumbprint
You should see output similar to the following:

- Make note of the Thumbprint for the certificate that was created in the anywhere access wizard.
- Next assign the certificate to the VPN with the following command:
Get-ChildItem | ? Thumbprint -eq “C39ED8D5ADC2F73A05A909BE9C4692B43B963FB2” | Set-RemoteAccess - Finally verify the correct certificate is assigned to the VPN with the command:
Get-RemoteAccess
Clients should be able to connect and access resources via the VPN now.
I hope you found this article informative. If you have any suggestions or comments please leave them below.